Episode 18- Pretty Dots-Back to Basics
Look folks, last week I dropped the ball.
For the first time since starting this challenge of writing a blog post per week about Houdini, I missed a week. I’ve missed my target day of Sunday in the past but I’ve always gone back and finished up the post. Last week I worked my way through part of a very complex tutorial and just felt in over my head with it. I probably spent 4 solid hours modeling and playing with this really complex technique and just felt like I didn’t absorb a thing. I honestly couldn’t even write about it because I didn’t fully understand what I was doing, just pushing buttons and getting mixed results.
Ok, now that I’ve admitted that, I can dust myself off and pick myself back up. Perimeter breach acknowledged.
This week I decided to course-correct hard in the other direction: back to full Houdini basics. Honestly, I found this fantastic group of tutorials in Houdini by a group called “Entagma” and just started working through them. They’re targeted at first-time Houdini users with some background in 3D, so they cover all the basics, but move quickly through them. This was an excellent decision.
Although I was covering the basics of Houdini, learning it from a new perspective completely modified the way that I’ll now be interfacing with Houdini. It was really nothing major that changed, but I learned a series of small tricks that have been glossed over by other artists teaching me how to do this. It’s really these little things that add up to the an increase in speed and proficiency with the program.
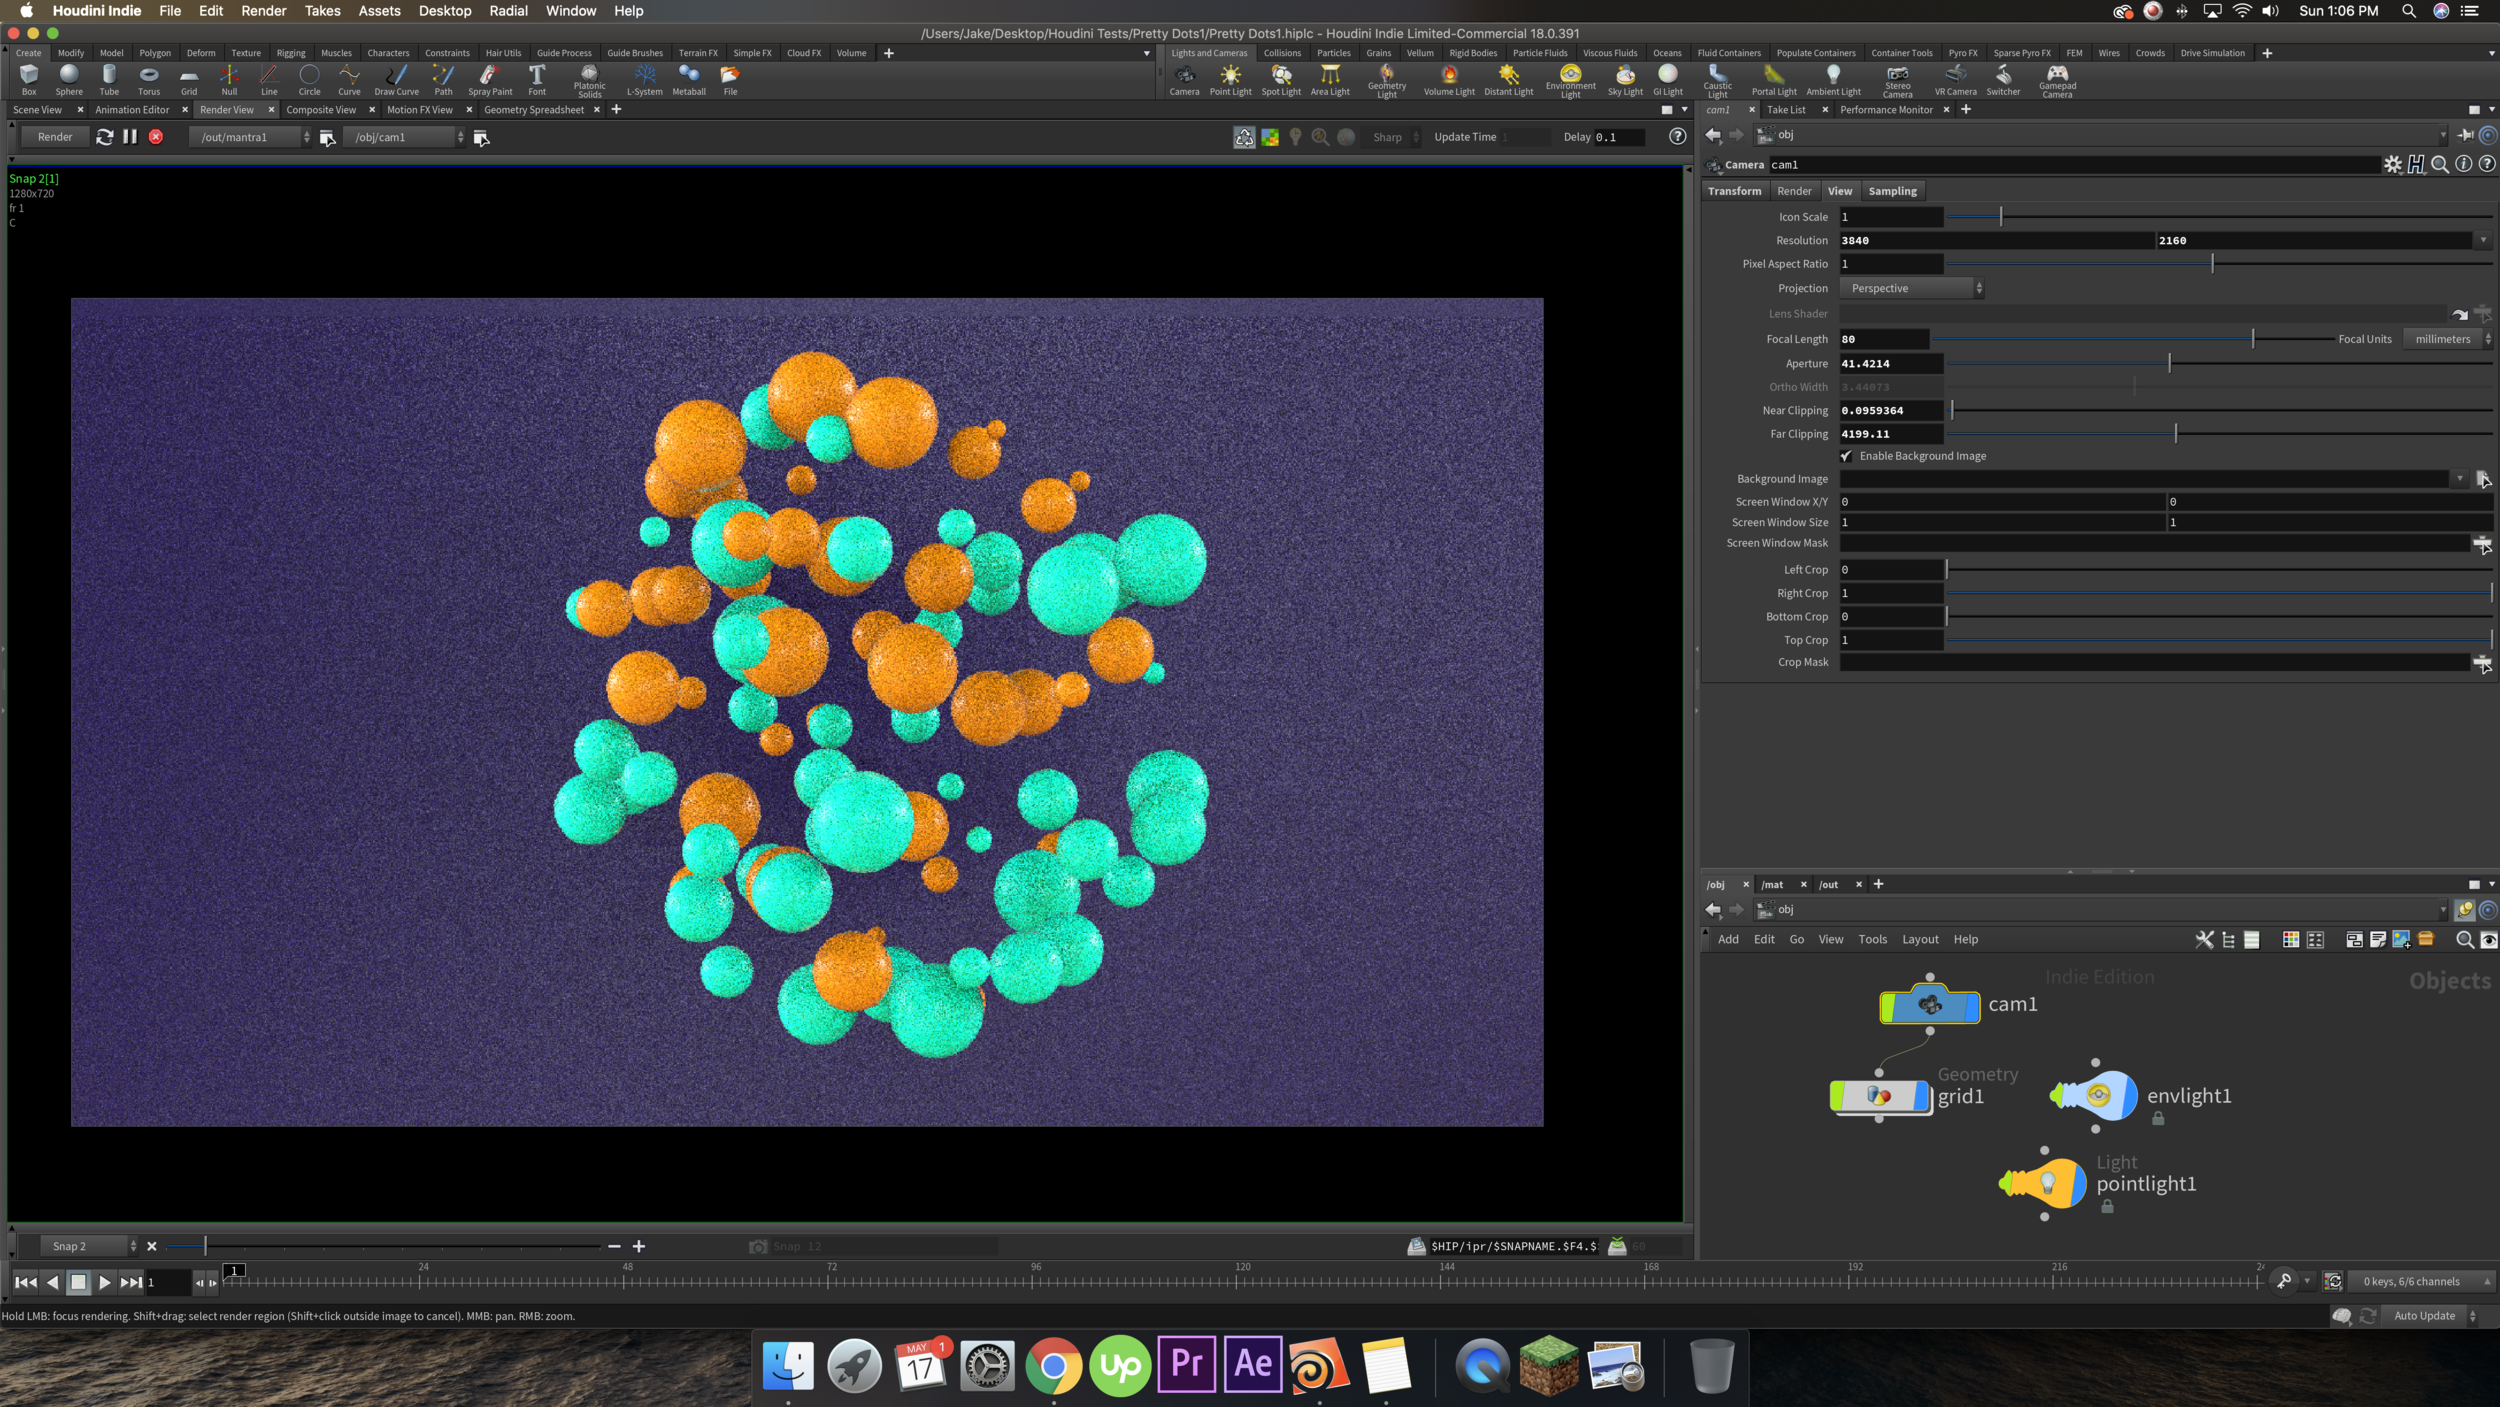
For example, when iterating or making small incremental changes to a frame, it’s SUPER helpful to see how it’s changed each time you do something. Well guess what pal, there’s a tool for that. There’s a little button that’s been hiding in plain sight right at the bottom of the viewport that allows you to take screenshots in the program of just the current state of a render, and stores them with a slider so that you can reference each incremental change you’ve made and see how it’s progressing. This just gives you a bit more perspective on your progress with an animation or modeling or texturing task. This is what that looks like:
If you can iterate fast it’s easy to keep track of what effect your changes are having without needed to reference past frames, but if you’re still very much a student, (as I am) then this is unbelievably helpful.
Another really helpful little trick is to hit “Z” when you’re selected on the Camera in a scene for super fast and easy manipulation of the focus in a scene. Camera focus in a scene is really important because you can change the “lens” to get different qualities and properties to completely modify the look and “feel” of a scene. This is something that I guess I assumed was difficult from the prior way that I was taught to use the tool. I wasn’t using it wrong before, but this new shortcut is SO much faster and more effective/precise.
Don’t discount the small wins.
Jakester-out


